Showing posts with label crafts. Show all posts

12 January 2012

Tidbits.


I love this free clip art from Martha Stewart.  It is colorful, fun, and could be used for so, so, so much!


We are super addicted to clementines.  Are you?

It will be a sad day when the season is over.  Sad, indeed.

Betsy stands at the refrigerator and sniffs the fruit drawer until I get the hint.  It's redunkulous.


This certainly isn't the best photo, but that is the current progress of our master bathroom redo. 

Lots more to do, but I think it's pretty rad so far.

And, finally...


we are going on vacation to Destin!

We have never been anywhere with our whole family except Chicago and Trout Lodge {one hour from our house}, so this is super exciting.  I cannot wait for my kids to see the ocean.

If you have any tips on where to stay that has 2-seconds-to-get-there beach access, full kitchen, and a condo pool, or tips for traveling hours on end with littles in the car...please share.  We are very new to this. 

12 December 2011

It's been awhile...


I have not fallen off the face of the Earth.  Quite the opposite.  I've been firmly planted on the ground trying to get things done for the holidays.  My goal was to have the non-glamorous stuff out of the way 2 weeks before Christmas Day.  For the most part, I've accomplished that, but there is little stuff that pops up along the way.  The little detail bits that I always seem to forget year after year.

Once school let's out, I will breathe a bit easier. 

But sharing details about my schedule is a total bore.  So, I will tell you what I'm making all of the teachers, bus drivers, occupational therapists, speech therapists, physical therapists, and teacher assistants for Christmas gifts. 

I insist on handmade when possible, and useful in some way.  You can imagine my difficulty every year in coming up with something.  Honestly, if I could give them all $100 in a card I would.  We love our teachers, etc.  They deserve it without a doubt, but my pockets do not run that deep.  :(

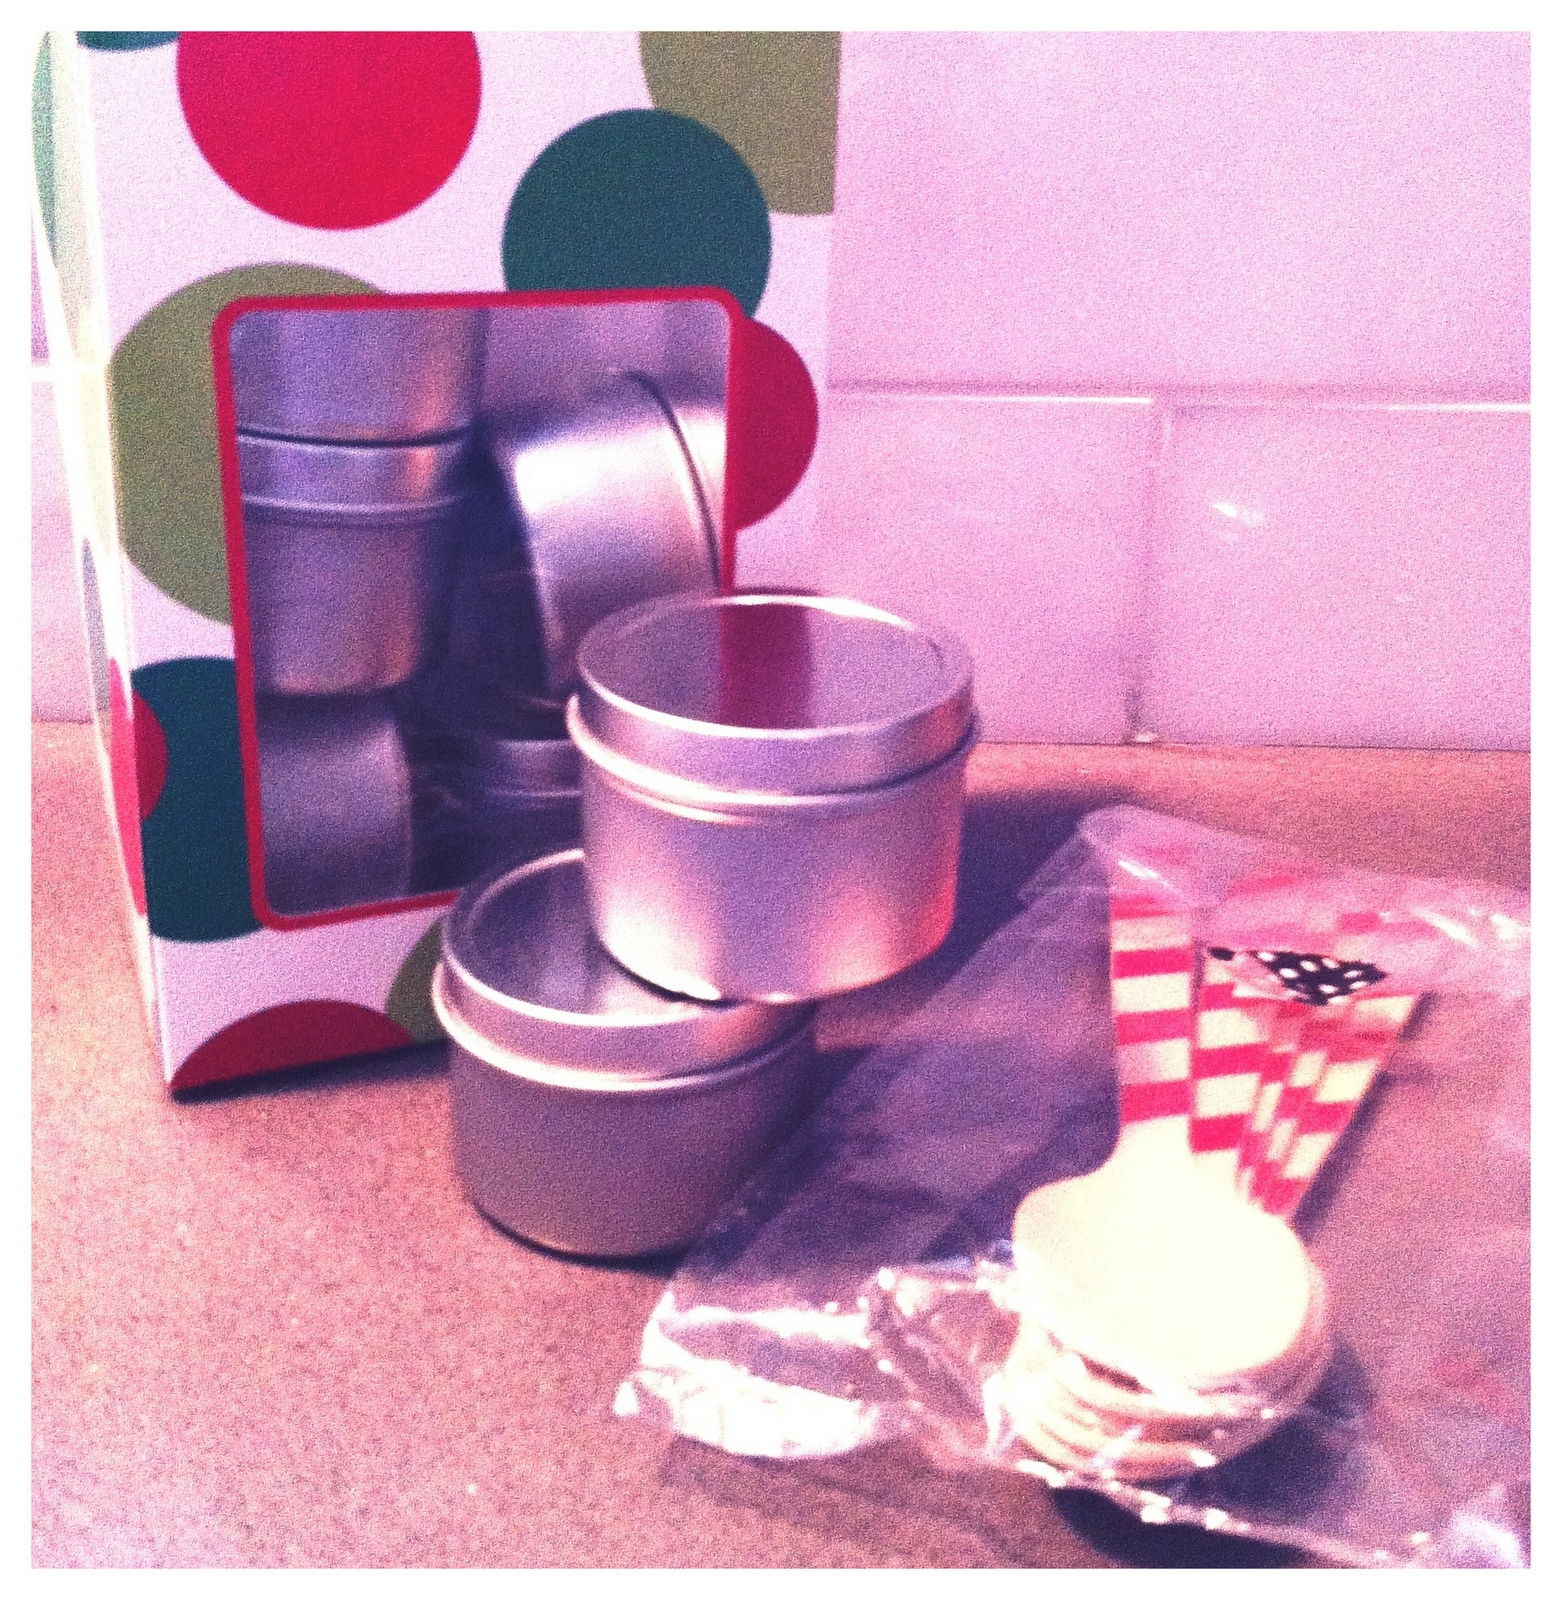
For the men on the list above, we are doing THIS.
Assembly will take place later this week.  If you want to know where any of my supplies came from they came from here and here.  I am making some cute, vintagey red & white labels for the spice containers with clip art from here.

For the ladies on the list, we are making THESE.


They are coming along nicely.  I was able to find fun wooden spools at Hobby Lobby, and I think they make the kits look much better than the cheap plastic ones. 

These gifts are turning out cheaper than I originally budgeted for, but I think since our blood sweat and tears {mostly mine} is going into them, they are more meaningful, even if it's just a little bit.

What do you do for teacher gifts?  Do you give to your mailman, trash men, etc?  If so, what do you give?  In the past, we've given those peeps fast food bucks for a quick lunch.  You'd be amazed at what good service you'll receive when you let them know they are appreciated, too. 

If you have any questions about these projects just let me know...

10 May 2011

A problem.

I have a confession.  I go to Hobby Lobby probably 3-4 times a week, average.  The thing is, I don't have an Etsy shop, I don't supplement our income in any way by crafting, I'm not a fabric hoarder, I don't scrapbook, and I don't really like their home decor items.  So, what gives?  Why do I harbor such an obsession?

Sometimes, I find myself pulling in the lot, walking in the store, and realizing I don't have a purpose.  Half the time I don't even buy anything.  If I did, it may be grounds for Jake to divorce me. If only he had such an easy out.  *wink, wink*

In my defense, it is right across the street from a plaza with Target, Wal-Mart {shudder}, TJ Maxx, Lowe's, and HomeGoods.  And, one of Rosie's and my favorite lunch spots {'Chipolte'} is right smack dab at the front of the parking lot of Hobby Lobby.  Sigh.

It's a constant internal struggle.

Am I the only one?  I think I need to know I'm not alone.  That someone out there has the same problem.  That might help.  If not, I may resign myself to sucking my thumb in the fetal position in the corner of our room.

Please, don't let that happen...


19 July 2010

Summer Bucket List.


Progress on our summer list is not going well.

We've only done a couple of things on it.

Yet, I feel like we've done tons of other stuff.

What's the point of a list then?

In the next two weeks we WILL do the following:

1. Make custom bleach t-shirts


2. Have a lemonade stand


3. Paint 'hot' rocks


4. Turn in our summer reading logs to the library


5. Make cardboard tube bracelets


6. Have an English muffin pizza buffet

Am I the only one this is happening to?

How's your summer list going?

01 May 2010

Super fab lampshade make-over.

Here's the lampshade.
Not bad.
But remember, I want to lighten things up a bit.

The supply list is really quite simple:
1/2 yard - 1 yard of fabric
glue gun
double-fold bias tape (seam binding) - I used 1/2 inch
lampshade

Here's the fabric.
It's actually outdoor fabric,
so it's a bit thick.
Although, the colors and print were perfect.
Typically, a thinner fabric works best.
Just keep that in mind.

Lay your fabric out flat.
Put the lampshade on the fabric on it's side.
Mark where the top & bottom of the shade are.
My shade was almost a perfect cylinder or drum.
That made this step pretty easy.
2 parallel lines.
However, if you have a more traditional shade,
you will 'roll' the shade as you draw your line.
This type of shade requires more fabric,
because it will look like this when you're done marking your fabric...


Once your top & bottom lines are drawn,
you cut.
Make sure you cut the fabric about 1/2 inch longer on one end.
This will allow you to tuck under the end to give it a finished look.
You don't want any fraying.
Don't worry about the top and bottom...
this will be covered with the bias tape.

Heat up your glue gun.
Then, wish you had an awesome jack-o-lantern plate to put it on.

Now, starting at the top of the shade and working your way around
put a small bead of glue along the edge of the shade.
I usually put about 2-3 inches of glue,
then, pull the fabric taught and press it into the glue.
Continue this process until there is about 1-2 inches unglued.
Repeat this process on the bottom.
Again, leaving 1-2 inches unglued.
Once this step is complete,
tuck under the extra so you don't see the unfinished edge.
and run a bead of glue from the top to the bottom of the shade.
Press down and smooth out.

Now, get your bias tape out.
Again, starting at the top of the shade,
glue the bias tape onto the shade
so that the center fold is on the tippy top of the shade.
This will put half of the tape on the front and half on the inside of the shade.
Once you've glued around the outside front,  glue along the inside.
Repeat same process on the bottom.


...and the lamp & shade lived happily ever after.
The End.

31 March 2010

Pretty branch tutorial.


I love these kitty willow branches from Betz White.
I refuse to call them what they really are because I hate that word.
Even if it is in reference to felines or vegetation.
A bit childish, I know.
Unfortunately, I'm not a big felter,
so making them similar to the original was out of the question for me.
Alas, what's a girl to do?
Oh, I know...
1. buy a bag of poms for $.99
2. spray paint the poms in the desired shade(s)
3. grab a glue gun
4. go to town
Duh!


A splash of spring color!
Quick and easy, too.

19 February 2010

Smile.

It's the weekend!

01 February 2010

Pretty things for Monday (blech).


cookie recipe from here...
Happy Monday & Happy February!

21 January 2010

15 tutus.


I am up to my eyeballs
in tulle.
3 tutus down...
12 to go.


20 January 2010

a day in my life.


I've begun the weekly menus. 
(An item from my 'list'.)
And, in true Grebe fashion, our week will begin on Wednesday.
I mean, why not?
The more confusing, the better around here.
Do you like my menu plan?
I think it has a certain je ne sais quoi.
I am sure it makes NO sense to you,
but to me it couldn't be more clear.
Personally, my favortie part is the random machine stitch down the middle.
It does have someting to do with what else I did yesterday.
But, when I see it there it makes me laugh.
So random.


When I got back from the grocery store
(from purchasing items for the weekly menu),
I came home to a cleaned out and oraganized pantry.
Sure, it's full to the brim and cramped, but everything is in it's place.
That's what you call one awesome, fantabulous husband.
Such a typical gesture from him.
What a blessed gift he is.


I whipped up this super sweet birthday banner for Rosie in 30 minutes.
Seriously.
I think it's super cute.
Bonus: it cost approx. $2.50.
I am loving this Spongebob pink tutu party business.
Pink and yellow is a very underrated color combo.


It was my first time sewing paper.
Are you understanding the stitch down the menu plan, now?
Practice.
I will definitely tweek some things the next go round.
But, overall, I think it turned out fabo.

The girls and I, also, went to Target & Hobby Lobby in the morning.
Don't get me started on their sticky fingers.
I think there were 6,783 extra items in my cart at both places by the time we made it to the checkout.
For reals.
At one point, Betsy had 6 pairs of the exact same shorts in the cart.
Six.
How did I miss that?
Amusing?
Yes.
Do I love putting everything back?
No.

Ahhhh, a day in my life.

Aaaaaaand,
if you want to check out some of my writing from a not so happy day in my life...
go here.
I hope you find the positive in it,
and find it uplifting.
Because I felt soooo much better after having written it.


21 December 2009

ruffles, ribbons, and sparkles. oh, my!


With a little silk french wired ribbon, you can make these.  Or many variations of them.  Like here.
 I whipped up some, real quick like.


 These are for clips for the girls.


These are for a shirt for moi.
I added some ruffles, too. 
There's a quick tutorial, here.


Pretty.

 I am not going to lie...
I am a ruffle tramp.


09 December 2009

Tired of the same ole.

I am Pete's room mother extraordinaire for the 1st grade Christmas party this year.  Due to some budget cuts the amount of money we are allotted has been reduced from $50 to $25.  Luckily, we have a great group of parents who, even if they work, are always willing to pitch-in in any way they can.  (I love our school.)

Snacks, drinks, and paper goods have all been taken care of, and I even managed to get a couple of monatary donations.  One of which was $30.  How cool is that?

I, now, have $60 with no food or paper products to buy.  I am sittin' pretty.

I want to try and avoid that goody bag overload.  Full of junk and junk food alike that the kids get bombarded with at every festive gathering.   Not that there is anything wrong with a good ole fashion treat bag, but it just seems so wasteful to me. 

I'm thinking we are going to go with an unofficial 'handmade' party theme this year.  Sure, there will be a couple of traditional party games, maybe some carols, and a story, but I thought I'd show the kids that they can make some cool stuff with their own bare hands.  Stuff that they can be proud of, and hopefully gift to someone in their family.

I haven't decided on anything 'for sure', yet, but I found some great ideas.


 Home-made snow globes from here.

I've seen these lots of places, but I think it would be an easy and fun thing for them to make.  You can use super glue or a glue gun (adults only for that step), instead of silicone which will increase the assembly time by lots.  I could pick up lots of vintagey cake decor for the insides at our local bake supply shop.


Diorama ornaments from here.

I love when the kids bring home handmade ornaments.  Our tree is full of them, and every Christmas when we get them all out, it's so fun to see all of them from the last several years.  I thought these were fun, and each kid could really make theirs personal. 


Cookie mix in a jar from here.

The infamous 'cookie-mix-in-a-jar'.  I know it's an oldie, but I've never seen it done at a school party.  I thought this would be fun for them to measure and scoop, and, later, make at home. 


Home-made sugar scrub from here.

I, also, love the idea of this kind of a gift for a mom, grandma, aunt, step-mom, or sister.  I checked out soaps and lip balms, but they take much too long.  This sugar scrub from Crystal at Little Bit Funky is a quick & easy alternative.  I think the idea of pouring and mixing will be a hit.

So, what do you think?  Do you have any other ideas?  Fairly easy, fun, maybe a bit messy?  Let me know, I'd love to hear them!